“Hard Boiled” Eggs

Ever tried to hard boil fresh eggs only to find they are impossible to peel? steamingEggsWell, you’re not alone. There’s nothing more frustrating than chipping away at the peel and getting nowhere. Farm fresh eggs won’t peel easily if you boil them. But there is a way… steam, baby, steam!

Place fresh eggs in a double boiler for 10-15 minutes, and viola! The shells practically fall off on their own when you peel them. It’s super easy!

So, gather up some farm fresh eggs and steam them for yummy, easy-to-peel “hard boiled” eggs. Enjoy!

Chicken Drama

Who knew that there could be so much drama in keeping chickens? I sure didn’t. Between the two new little ones, the regular chicken duties, and now one –maybe two– chickens going broody, I have my hands full!

GeorgianaGoesBroodyGeorgiana has decided she wants to hatch out non-fertile eggs. Silly chicken, I’ve told her this will not work. But, she insists on hogging the nesting box, making noises I honestly didn’t think a chicken could make, and just acting like a psycho chicken! I finally put her in a large dog kennel, hoping it would help break her of her broodiness. But so far, all she does it walk frantically back and forth, screeching, trying to find a way out. She has her own food, water and perch. The others are quite jealous, in fact. But she’s not happy. I’m hoping with time that will change.

Cora is acting mildly broody. I only have two nesting boxes, so you can see where this will be a problem. I’ve found eggs in the corner of the coop, in a “nest like” indent in the litter. The other girls are very confused as to where they should lay. Production has dropped (or maybe there is another hiding place?) Thus the need to separate Georgiana.

Almost all of the girls seem a bit on edge lately. Not sure if it’s just spring fever or broody chicken induced. Ah, chicken drama… who knew!?

Everyone please hold the good thought that this madness will soon end and we can go back to the calm chicken life we once knew…

Hand Drawn Chicken Note Cards

My girls inspired me to dust off the colored pencils and start sketching again… I’d forgotten how much fun it is! It’s a great way to get up close and personal with my girls (and see how they derived from dinosaurs). I really enjoy paying attention to the little details. So much fun!4cards

I had four of my drawings printed into note cards:

  • Elsa, Partridge Plymouth Rock
  • Cora, Partridge Plymouth Rock
  • Nellie, Barred Plymouth Rock
  • Gwennie, Silver Laced Wyandotte

The cards are 5″ x 7″ folded, blank inside, with a short description about the featured chicken on the back.

I started an etsy shop under the name The Hen Song to sell the cards, and it’s been a great success. If these continue to sell, I’d love to print some new sketches I’ve been working on.

etsy4cards4sale

Fun times with chickens — They are fun in so many ways!

Cold Weather & Chickens

With our temps finally dipping into the minus temps, I thought I’d chat a bit about the cold weather here in southcentral Alaska. There has been much talk about when to heat coops, should I let my girls out, how much ventilation does my coop need, etc. The following are my thoughts, so please take them as such. It’s just how I do things, what works best for my situation. Other chicken keepers will have opinions about what works best for them. And, it’s all good info. Take what works for you.2butts

We don’t get it as cold as Fairbanks, but we usually get colder temps than on the Kenai peninsula or in southeast Alaska. Minus temps are not unusual. What has been unusual is that we didn’t get any minus temps in 2014. The times—they are a changin’.

In talking about chickens in cold weather, one thing many folks don’t realize is that most breeds of chickens are better suited for the cold than the heat. I had read somewhere that if a chicken’s internal body temperature reaches 114 she will simply drop dead. Cold, on the other hand, doesn’t affect them that way. Keep in mind, some breeds are better suited for the cold and some for the heat. I only have cold hardy breeds.

Before I talk about my situation, there are a few basics that need to be understood:

  • Frostbite is a result of cold + moisture. Think about standing in 20 degree weather when it’s dry. Now picture what it feels like wet. HUGE difference. The areas subject to frostbite are the comb, wattles, ear lobes, feet… basically, any exposed flesh. (Coops without ventilation will have moisture build up inside.)
  • Feathers are one of the natural defenses chickens have when it comes to the cold. Ever worn a down jacket? Chickens have beautiful down feathers which they use to fluff up and trap a layer of heated air right next to their skin. A draft will steal this layer of warmth, making draft free areas critical for their well being.
  • Hens usually sleep with their heads tucked under a wing, thereby keeping their comb, wattles and ears nice and toasty warm.
  • Chickens will roost together for warmth. Each chicken gives off approximately 40 BTUs of warmth (depending on her size).
  • Toes are protected when chickens roost on a relatively flat and wide perch, so their toes are covered by their breast feathers. A 2×4 (with the fat 4″ side up) works very well. If you have the 2″ side up, their toes can stick out below their feathers (and possibly get frostbite).

GeorgianaSnow_smAcclimate. Allow your chickens time to acclimate to the cold. If they are used to a warm coop when the outside temp. is much colder, they are more likely to come down with respiratory or other illnesses. Nature usually provides a nice adjustment period called autumn. Let your chickens feel the gradual drop in temp. I noticed a lot of downy feathers being grown during autumn.

To heat or not. I don’t heat my coop. That is, I installed a wall-mounted flat panel heater behind the roosts, but have not had to use it, yet. I wanted it in there for the 20 below temps, just in case. My coop is well insulated—walls, ceiling and floor are all insulated between the 2×4 construction with R-13 batting. I don’t use a heat lamp, too much of a fire hazard. I know of a number of coops that have burned down, with the chickens inside. Yeah—not going there. The wall-mounted unit I have is warm to the touch, not hot. Very little fire risk, and I would only use it temporarily, if at all.

Ventilation. This is a biggie! And sometimes a bit hard to understand, at first. Ventilation will help remove the moisture that builds up from chicken breath and their poop. The last thing you want is a coop that is so tightly insulated there is no ventilation. That is a sure recipe for frostbite (and possible respiratory infections). It seems counter-intuitive, but, you have to have open windows no matter how cold it is outside. How much? Enough so the moisture (and dust from feathers, litter, food, etc.) can be moved outside. Yes, you will lose some heat, that’s unavoidable. It’s best to have the open windows higher up, since heat rises. This helps keep your coop air cleaner in the winter, as well reduce frostbite risk. Remember, chickens have an extensive respiratory system and are subject to illness if breathing in dusty air.

Draft free areas. As discussed above, chickens in drafty (or breezy, windy) areas have a much more difficult time keeping themselves warm. It is critical that they have areas where they can get out of the wind. Draft free coops are very important. Having your vents or windows up high reduces the possibility of creating drafts in your coop. Be sure the roosting area, especially, is free of drafts.

howHotIsYourLitter
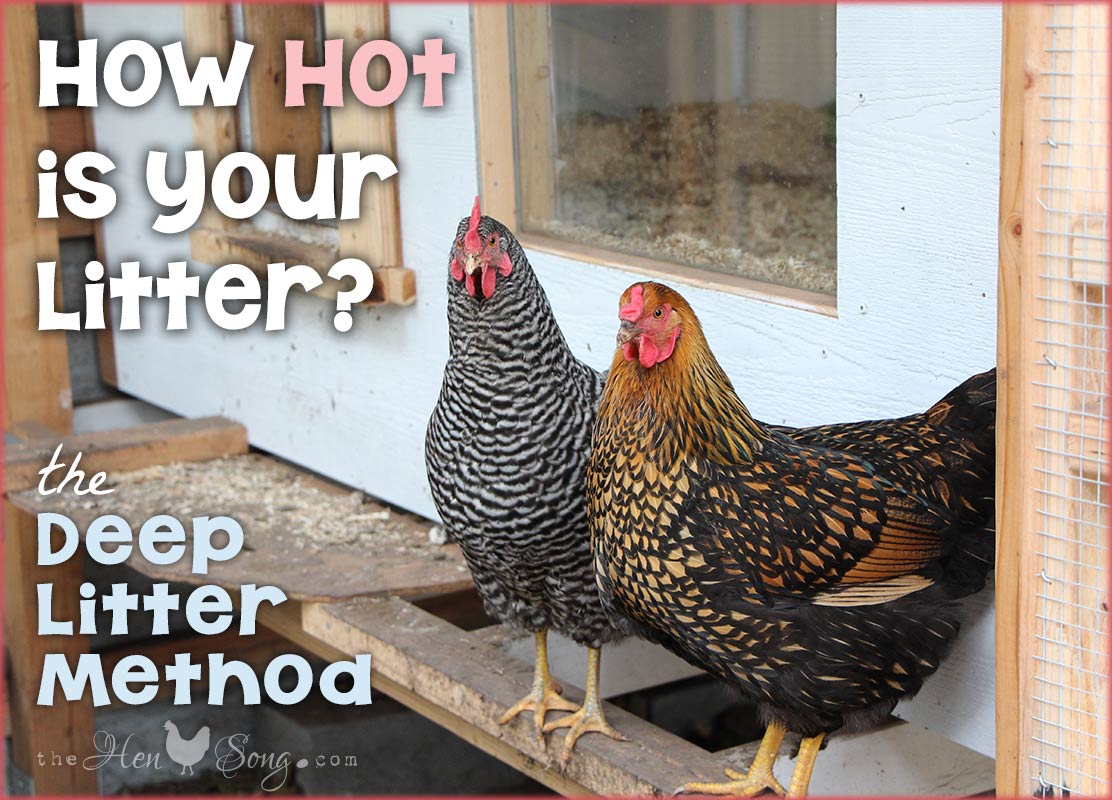
Deep Litter Method. I choose to do the deep litter (composting) method in my coop. I have found it takes quite a bit of time and determination to get just the right balance, so you don’t have ammonia build up, yet actually have it produce heat. I won’t go into all the details here—just too much. Perhaps I’ll blog more about that later. Basically, if you are doing it right, you will actually be generating heat from your litter AND produce yummy compost for your garden. A win-win, if ever there was one! Currently, my coop is 15 degrees warmer inside, even in minus temps. I suspect (hope) that as it continues to cook (compost), it will warm up even more. I know a couple folks who have had incredible results, but it took time to figure out exactly what worked best for their individual situation.

Keeping waterers unfrozen. I built two “cookie tin” heaters for my waterers (see DIY Cookie Tin Waterer on how to make them). I have one larger waterer outside in the run, and a smaller (chick-sized) waterer inside the coop. The inside one is only turned on when necessary and sits by an open window, so as not to create too much extra moisture inside.

Coop size. Your coop size and the number of chickens you house will play a role in moisture build up and how warm it will get inside without heat. Generally, 4 sq. feet of floor space per bird seems to be enough room without worrying about pecking issues (assuming they have access to an outside run). I have that ratio and it works well for my situation. Imagine only having three birds inside an 8’x12′ coop vs. eight birds inside an 8’x4′ coop. Which is going to be warmer just from the heat the chickens give off?

CoraInSnow_sm
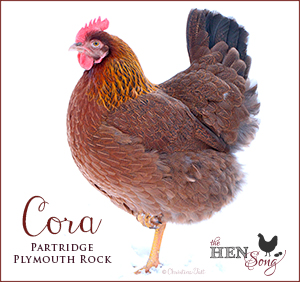
Breed choice. I prefer cold hardy breeds since I live in a cold climate. I know folks in Alaska who choose to have breeds which require a bit more care in the winter. To each their own. Since I am relatively new to chickens, it made sense to choose a breed which would do well in the cold. I have Plymouth Rocks and Wyandottes, both of which are cold hardy, and doing extremely well in our minus temps today. All of my girls venture out in the snow and ice. None stay in the coop. I’ve always opened the door for the day, giving them the choice to go out or not. They all move around chattering, scratching, pecking… loving life.

So, I know that was a bit of a ramble, but if you gleaned any info from it then I am just pleased as punch. As chicken keeping is an ever-changing journey of learning, this is also a great reference for me to come back to in years to come, and see if my thoughts are still the same.

Here’s to a beautiful winter, filled with happiness and lots of farm fresh eggs!
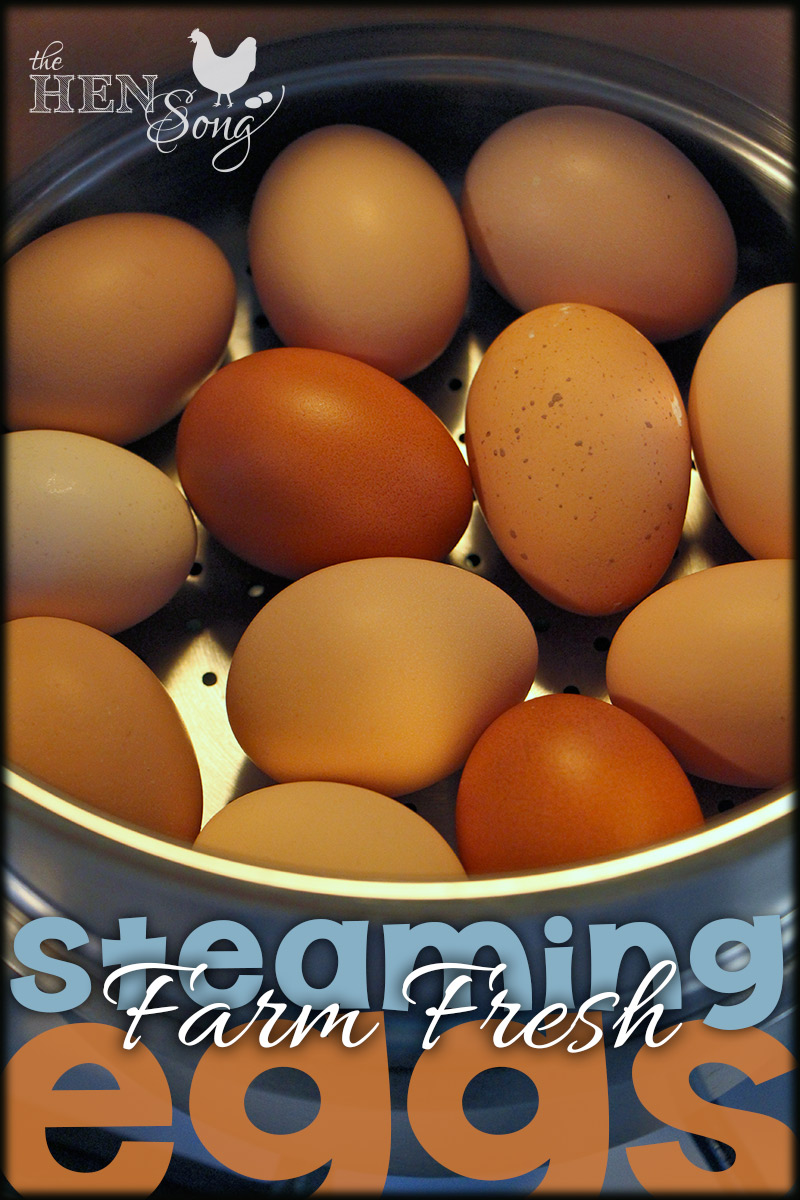
Creme Brulee Recipe

Here it is Christmas Eve, and what better topic to be posting than a yummy dessert recipe using farm fresh eggs… more specifically, Creme Brulee!

Creme Brulee is one of those desserts that is indescribably delicious, and yet, so easy to make. It’s made using a few basic ingredients—so be sure to use high quality ingredients for best results.

My recipe is a modified version of the recipe from Fresh Eggs Daily.

cremeBrulee

Creme Brulee

Makes 6 ramekins.

2.5 cups organic heavy cream
1/3 cup brown sugar
7 farm fresh egg yolks, whisked
1 teaspoon vanilla
6 teaspoons brown and/or white granulated sugar for topping

Preheat oven to 325 degrees, and start boiling water in tea kettle. Place ramekins in an oven safe dish. Add boiling water to dish, so water level is halfway up the ramekins.

Place cream and brown sugar in saucepan and bring to simmer, stirring until the sugar is dissolved. Remove from heat. Gently whisk the egg yolks and vanilla into the creme. Carefully pour or ladle the mixture into the ramekins.

Place in oven and bake for 40-50 minutes until just set. Centers will still jiggle a bit when done. Remove from water bath and let cool. Place in fridge for three hours (or up to two days), covered in plastic wrap.

When ready to serve: sprinkle up to a teaspoon of granulated sugar on top and either torch with handheld torch or broil in oven for a few minutes until the sugar melts and forms a hard crust. Serve immediately.

Viola! Yummy goodness—enjoy!

Cinnamon Swirl Bread Recipe

I’ve always wanted to try making a cinnamon bread, and here it is! I must say, it turned out rather well. It’s not too sweet and easy to make. You could easily use honey in place of the first sugar. And use whatever flour you’d like. I actually baked mine on a cookie sheet, but I would recommend putting it in a loaf pan so it doesn’t flatten out so much. I tend to “wing it” with recipes, but a number of folks wanted the recipe, so here it is:

CinnamonSwirlBread

Cinnamon Swirl Bread — Yields one loaf

2 c organic spelt flour
1/2-1 c organic unbleached white flour
1T yeast
1/2 c organic milk
1/3-1/2 c water
1/8 c brown sugar
2T organic butter (plus 1T)
1T salt

1 farm fresh egg, beaten
1T cinnamon
1/2 c brown sugar

Stir together 1 cup of spelt flour and yeast.

Heat milk, water, and 1/8 cup brown sugar, 2 tablespoons butter and salt (though I forgot the salt and it didn’t seem to matter) over low heat until butter is melted.

Slowly add heated mixture to flour yeast mixture and mix well. Blend in the egg. Add the white flour (though you really can add whatever flour you’d like), a little at a time, until the dough chases the spoon around the bowl. Then, turn out dough on lightly floured surface and knead for at least five minutes, adding flour as needed. Form dough into ball and place in a greased bowl, cover with plastic wrap or tea towel, and let sit in a warm place for about 45 min to rise.

In a small bowl, mix together 1/2 cup brown sugar and cinnamon. Melt 1 tablespoon butter. Grease loaf pan well.

After dough rises, knead dough and roll out to about 1/2 inch thick rectangle. Brush with melted butter, then sprinkle the cinnamon sugar mixture on top. Beginning at the short end, roll the dough up very tightly to form a roll. Flatten ends a bit and roll them under the bottom. Place roll in greased loaf pan. (Try not to have too much cinnamon mixture exposed or it can ooze out the bottom while baking.)

Allow bread to rise for about 10-15 min. Preheat oven to 375 degrees F. Bake for 35 min. Remove from pan and allow to cool on wire rack. Enjoy!

Chickens & Predators

An unpleasant subject, but one I’ve been hearing a lot about, lately: Chickens being killed by free roaming dogs.

First, let me say I am very sorry for anyone’s loss of chickens to dogs or other predators. But, the fact is dogs are the number one killer (after people, of course) of chickens. Here in Alaska we have to worry about dogs, fox, mink, ermine, owls, eagles, bears, and other wild animals (not to mention people).

AreYourChickensSafe

The reality is an animal is either a predator or prey. By keeping chickens, you are choosing to keep prey animals outdoors surrounded by various predators. It can be a challenge. Are you up for that?

I hear folks getting so upset at the dog owner who lets their Fido run loose. While I agree that irresponsible pet owners are the lowest life form on this planet (ask me how I really feel), you cannot change human nature. There will always be irresponsible people nearby, no matter where you live. You can beat your head against the wall trying to change them, or you can outsmart them.

Dogs have always been—and always will be—the number one predator of chickens. You aren’t going to change that, no matter how much you complain or how many loose dogs you shoot. More will just come. So, you have two choices:

1. Accept there will be losses, and live with it.

or

2. Construct a home for your outdoor prey animals which a dog (or other predator) cannot get in to. Depending upon your individual situation, this might mean electric fencing or netting surrounding dog-impermeable fences. You may need motion sensors activating light or noise. You may need to rethink whether it is safe to let your chickens free range where a dog (or other predator) could get at them, or accept the risk you are taking by letting them do so.

As a dog owner, myself, I have come in contact with ill-manored dogs who encouraged very negative thoughts within me. And I blamed the dog, though we all know there is an irresponsible person behind that dog who deserves the blame. The fact remains there are as many different dogs out there as there are people. Once you accept that they aren’t going to go away, you’ve won half the battle. The other half is devising a way to protect your prey animals that you choose to keep outside. Prevention is key.

Our chickens bring us such joy—they deserve preventative measures to ensure their safety. Happy chicken keeping to one and all!

Chicken Races

If you’re looking for a little entertainment, for both you and your girls, take them some leftover linguini and watch the fun begin! I must admit, I haven’t laughed this hard in some time.

While making linguini for lunch, I ended up with a piece in the sink strainer. Instead of throwing it out, I thought why not give it to the chickens? After all, cleaning up food scraps falls under their other duties as assigned. Right? So, out I went, linguini piece in hand. I was immediately met by all the girls. Their eyesight is keener than most realize—I swear they can see me all the way in the kitchen, and no doubt know what I’m doing at any given moment (kind of creepy, eh?)

I held the piece of noodle firmly about waist high over the girls. A couple of them didn’t hesitate to jump up, and I was surprised how high they can jump! I held it firm and Georgiana was the most persistent, with constant jumping and excitable noises (she’s my “loud” one). So, she grabs it, but hard! And off they go… Georgiana is running around the yard like a crazy girl… darting here and there, rather like a football game. She’s got the ball and keeps trying to avoid contact with the other girls. The only difference is, there is no goal area. She’s just running, and running, and running, all the while with noodle in mouth.

chickenRacesAt this point, I’ve almost peed my pants, I’m laughing so hard. This goes on for quite a few minutes. Finally, she is cornered by about three of them. Elsa, quite forcibly, grabs the noodle and pulls it out of Georgiana’s mouth. Georgie girl gets rather upset and grabs it back, rather hard and quickly. So hard, in fact, that she does a half gainer over Elsa’s head! I kid you not! I wish I had it on video… to see a chicken nearly attached at the beak to another chicken and do essentially a cartwheel with no hands! I’m still laughing. They both stood there afterwards, a bit stunned, no doubt wondering what just happened!

And the really funny part? During these acrobatic maneuvers the noodle was likely flung under the nearby porch, out of reach. It just plain disappeared. The girls looked for it all over. I’m still laughing! Oh, girls, you are quite the amusing bunch!

Needless to say, I made linguini again that day. Couldn’t help myself. :-)

Egg Storage

In posting a photo of my new egg skelter on my Facebook page, I was surprised at how many folks asked me, “You don’t keep your eggs in the refrigerator?” No, I don’t. My eggs are not washed and therefore do not need to be kept in the fridge.

skelter

Now you might get differing opinions from others, and to each his own. But these are my thoughts…

Mother Nature has thought of everything in creating the farm fresh egg. Not only is the egg a beauty to behold, but also very practical. The last stage in creating an egg—just before it is laid—involves adding the “bloom”, which is a protective coating over the outer shell. This wet coating quickly dries as soon as the hen lays the egg. It protects the contents from harmful bacteria getting inside. Think about if the egg was fertile and mama was sitting on a clutch of them for 21 days. Mother Nature has provided a safe place for the developing baby inside that cute egg.

In Europe, you won’t find eggs in the refrigerated section of the market. They have not been washed. When you get an unwashed egg, you know what kind of condition the nesting boxes are in. Occasionally, even the cleanest of boxes will get a muddy foot in there which can dirty the egg a bit. But, for the most part, farm fresh eggs are clean because the hens live in clean conditions. Do you think all the eggs in U.S. supermarkets come from clean conditions? If they did, they wouldn’t need to administer so many antibiotics. But, we’ll save that for another blog entry…

So, enjoy those unwashed, healthy eggs! And if you’re looking for a nice way to display them, I can recommend an egg skelter. Just love mine!


Some more little egg-bits:

eggsInBasketDid you know the egg travels pointy end first, and at the last minute (just before being laid) turns 180 degrees so the fat end comes out first? Also, hens will sit in the box as the egg gets ready to be laid. Just before she’s ready to lay the hen will stand up a bit, and viola, out comes an egg—fat end down—in the nesting box!

Do you know how to tell how old an egg is? Do the water test: Put an egg in a glass of cold water. Does it float? Or sink? If it sinks all the way down and lays flat, it’s very fresh. The more it floats the older it is. Here’s why: Eggshells are porous, and over time air will seep in at the fat part of the egg. That air is what the baby chick—if the egg was fertile and had a developing baby in it—would first breathe. Ever notice when you hard boil an egg and the fat end has a dent in it? Yup, it’s an air pocket. The bigger the pocket, the older the egg.

Pretty neat-o, eh? I think so. But then I could talk “chicken” all day long!

Herbal Roots

Herbs, herbs, glorious herbs!

image of oregano cutting in water

Oregano cutting with new roots

From luscious lavender to invigorating rosemary, herbs have been around since the beginning of time. Their uses are many, and can be preventative or restorative. I certainly have my favorites, like rosemary, oregano, thyme, parsley, sage… the list goes on. I cook and bake with them, and use them quite a bit with the chickens: in their coop, run, nesting boxes, and as part of their treats.

One of my ongoing projects is expanding my herb garden. One way I do this is to take cuttings from favorite herbs, stick them in water, and watch new roots grow. It’s that easy! I’ve had great success with rosemary and oregano, and plan to try it with a few other herbs.

The oregano you see in the photo was actually trampled by the chickens getting into the herb garden when I wasn’t looking (turn your back for a second… geesh!) So, I brought the larger pieces inside and put them in water. The smaller pieces went in the coop and nesting boxes. The main plant is still alive, so I guess it’s a win-win. 

Come spring, the new oregano will find a permanent home back in the herb garden—oregano overwinters well in this area. The rosemary will mostly be confined to pots, so I can take it inside for the winter.

Having herbs on my kitchen windowsill brings me extra joy in the dead of winter. Some of my indoor rosemary plants have bloomed in winter, even while still in the water! Ah, herbs, you bring me such happiness!